WARNING
If you lose your recovery key–forget the password or smartcard PIN, for example–it’s game over. There is literally no other recovery option available. Microsoft Support can’t help you.
Not scared off?
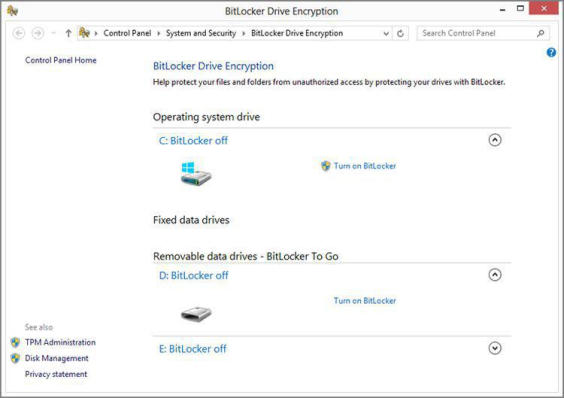
To enable BitLocker, launch the BitLocker Drive Encryption control panel (as always, Start Search is your friend). Shown in Figure 14‑5, BitLocker is straightforward.
You can’t use any old password: It must meet certain minimum length and complexity requirements, which could be set by corporate policy.
To enable BitLocker (or BitLocker To Go), simply click the Turn on BitLocker option next to the appropriate disk. The BitLocker Drive Encryption wizard will step you through the process of encrypting the disk and creating a recovery key, which can be a standard password or smartcard with PIN.
We recommend you do all three. (Be sure to keep the printed copy secure, in a safe perhaps.)
The wizard will also ask whether you’d like to back up the recovery key, which is certainly desirable. You can save to SkyDrive, to a file, or print the recovery key.
Once this is complete, the wizard will present two options, new to Windows 8, for encrypting the disk: It can encrypt the entire disk, including the empty space, which is slower, or just encrypt the used disk space, which is faster and perfectly acceptable for unused disks.
Figure 14‑5: BitLocker and BitLocker To Go utilize the same configuration interface.
Encrypting an entire fixed disk can be a very time‑consuming process. In fact, you may want to do this overnight, though the process doesn’t impact your ability to use the disk.
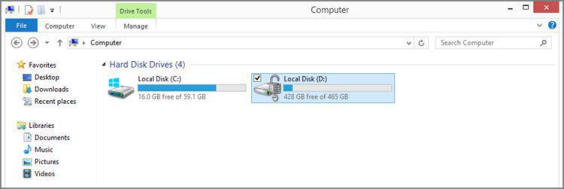
When the encryption is complete, you’ll see that the disk appears different in both Explorer, as shown in Figure 14‑6, and in the BitLocker Drive Encryption control panel.
Figure 14‑6: BitLocker‑protected disks are visually differentiated and now provide other options.
They also have some new options in the control panel. These include the following:
• Back up recovery key: While the BitLocker Drive Encryption wizard won’t complete without ensuring that you back up your recovery key in some fashion, you can back it up again at any time.
• Add or Change password: If you’re using a password, you can change the password at any time. Or, if you’re using a smartcard PIN, you can add a password as a second way to enter the recovery key.
• Remove password: You can remove the password if you’ve separately configured a smartcard PIN.
• Add or Change smartcard: If you’re using a smartcard PIN, you can change the PIN at any time. Or, if you’re using a password, you can add a smartcard PIN as a second way to enter the recovery key.
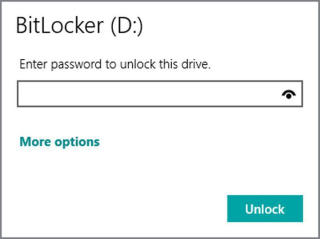
• Turn on (or off) auto‑unlock: By default, BitLocker‑protected disks will prompt you for a password (or PIN) each time you sign in to Windows or, in the case of an external, removable disk, when you plug the drive into the PC. The password entry interface can be seen in Figure 14‑7. You can use the Automatically unlock on this PC option, found under More options, to disable this tiresome requirement.
• Turn off BitLocker: If you’d like to remove BitLocker encryption from a disk, this option will reverse the process.
Figure 14‑7: By default, BitLocker‑protected disks require you to enter a password or PIN each time they’re first accessed.
Дата добавления: 2015-05-13; просмотров: 1107;