Return false
In , we register our list widget as having a context menu, which we fill in via our private method, by way of . We also implement the callback, indicating that our activity also has an options menu. Once again, we delegate to to fill in the menu.
Our implementations of (for options‑menu selections) and (for context‑menu selections) both delegate to a private method, plus chaining upwards to the superclass if none of our menu choices was the one selected by the user.
In we add seven menu choices, each with a unique identifier. Being lazy, we eschew the icons.
In we see if any of our menu choices were chosen; if so, we set the list’s divider size to be the user‑selected width.
Initially the activity looks the same in the emulator as it did for (see Figure 11‑1).
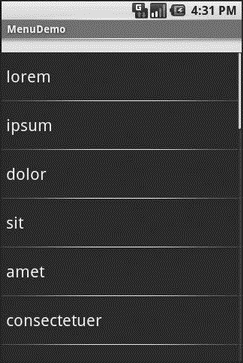
Figure 11‑1. The MenuDemo sample application, as initially launched
But if you press the Menu button, you will get our options menu (Figure 11‑2).
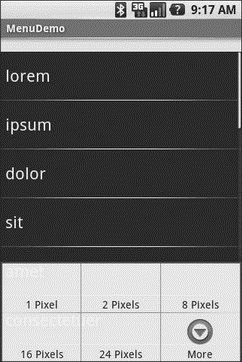
Figure 11‑2. The same application, showing the options menu
Clicking the More button shows the remaining two menu choices (Figure 11‑3).
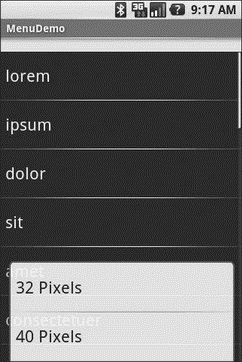
Figure 11‑3. The same application, the remaining menu choices
Choosing a height (say, 16 pixels) then changes the divider height of the list to something garish (Figure 11‑4).

Figure 11‑4. The same application, made ugly
You can trigger the context menu by doing a tap‑and‑hold on any item in the list (Figure 11‑5).
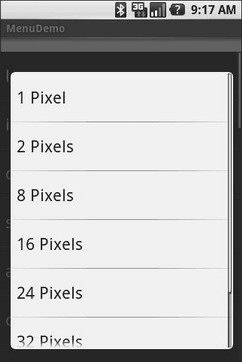
Figure 11‑5. The same application, showing a context menu
Once again, choosing an option sets the divider height.
Дата добавления: 2015-05-16; просмотров: 1145;