Assigning Labels
The simplest widget is the label, referred to in Android as a . Like in most GUI toolkits, labels are bits of text not editable directly by users. Typically, they are used to identify adjacent widgets (e.g., a “Name:” label before a field where one fills in a name).
In Java, you can create a label by creating a instance. More commonly, though, you will create labels in XML layout files by adding a element to the layout, with an property to set the value of the label itself. If you need to swap labels based on certain criteria, such as internationalization, you may wish to use a resource reference in the XML instead, as will be described in Chapter 9. has numerous other properties of relevance for labels, such as:
• to set the typeface to use for the label (e.g., )
• to indicate that the typeface should be made bold (), italic (), or bold and italic ()
• to set the color of the label’s text, in RGB hex format (e.g., for red)
For example, in the Basic/Label project, you will find the following layout file:
As you can see in Figure 6‑1, just that layout alone, with the stub Java source provided by Android’s project builder (e.g., ), gives you the application.
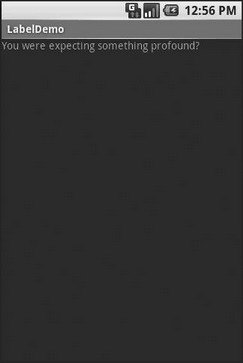
Figure 6‑1. The LabelDemo sample application
Button, Button, Who’s Got the Button?
We’ve already seen the use of the Button widget in Chapters 4 and 5. As it turns out, is a subclass of , so everything discussed in the preceding section in terms of formatting the face of the button still holds.
Дата добавления: 2015-05-16; просмотров: 1016;